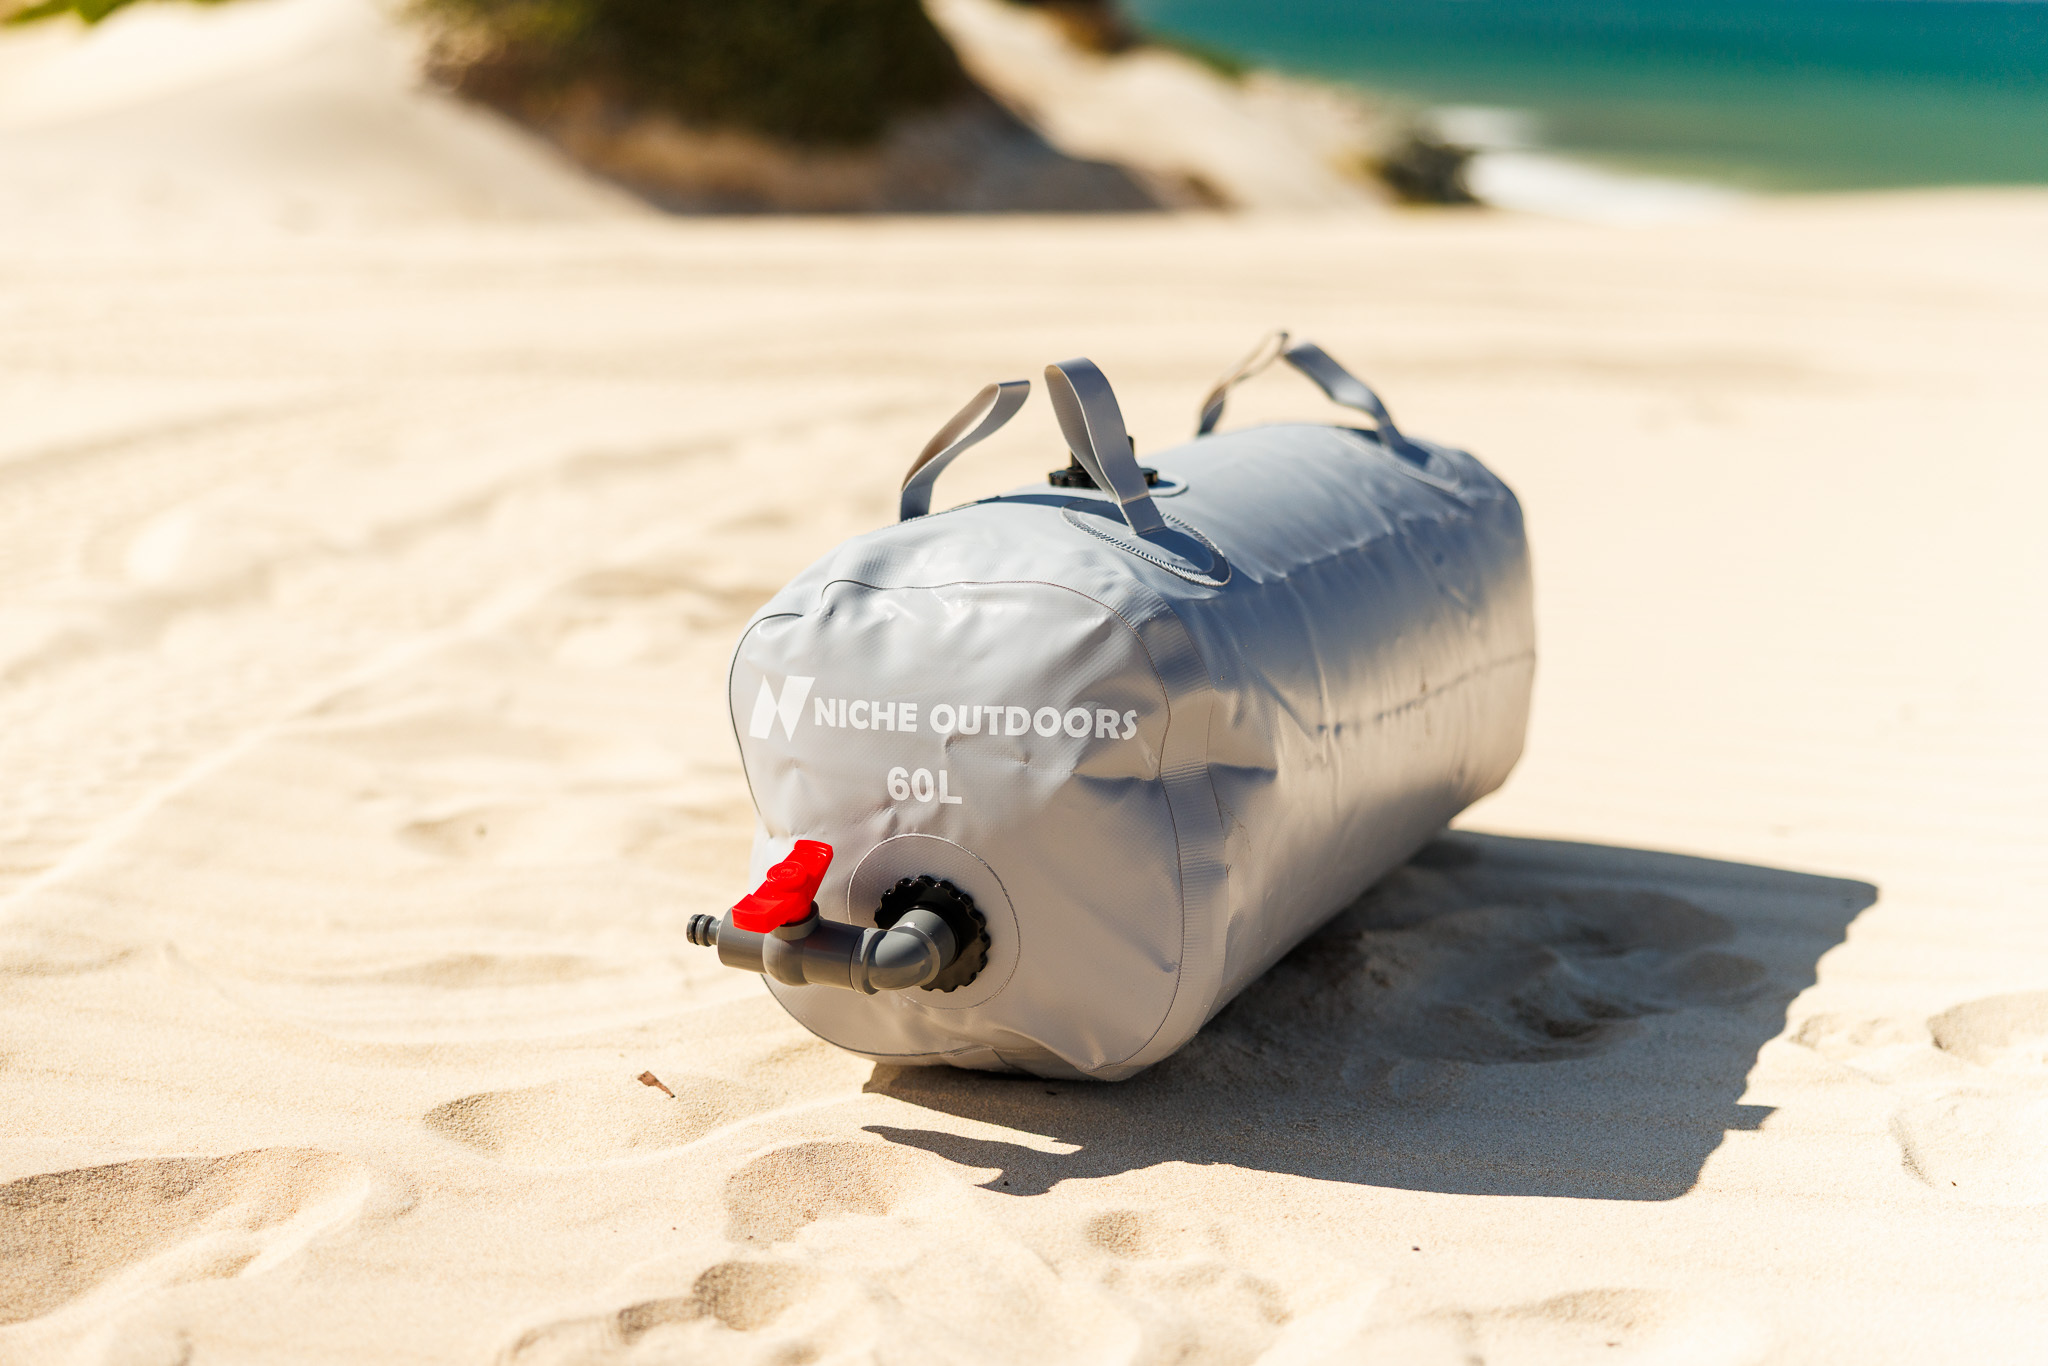
Planning a camping trip and unsure how much water to carry, or whether a bladder will fit your 4WD? Water bladders for camping give you extra capacity without filling the tray or cargo area with rigid containers. Choose the size for your trip length, available space and vehicle payload.
Niche Outdoors bladders pack down flat when empty and come with the fittings needed to connect them. Shaun and James tested 60L and 100L bladders in their own vehicles before selling them. This guide covers the practical checks to make before you buy.
Water bladder or jerry cans: which suits your trip?
Jerry cans can suit a short trip. Two 20L cans give you 40L, but extra capacity means extra containers to carry, lift and pour. A bladder can use a footwell, storage bay or gap beside a drawer system that would otherwise sit empty.
A 100L bladder carries 2.5 times the water of two 20L jerry cans and packs down flat after the trip. Connect a suitable 12V pump at camp for water at a tap or shower fitting, or use gravity feed for a basic tap or washing bucket.
The right choice comes down to your trip length, the space in your vehicle and how you plan to use the water at camp.
How much water do you need for a camping trip?
Start with 5–8L per person each day for drinking, cooking, washing up and basic hygiene. Hot weather, daily showers and long gaps between refill points increase the amount you need. Use the higher end of the range for hot conditions or regular showers.
Multiply your daily allowance by the number of people and days away, then add 25% for spills, delays and the kid who leaves the tap running. Check the available space and loaded vehicle weight before choosing a larger bladder.
| Trip type | Planning calculation | Bladder to consider |
|---|---|---|
| Weekend solo (2 nights) | 7L × 1 × 3 = 21L, plus 25% = about 26L | 60L Slim, after measuring the space |
| Weekend couple (2 nights) | 7L × 2 × 3 = 42L, plus 25% = about 53L | 60L Slim |
| Week-long trip, 2 adults + 1 child | 7L × 3 × 7 = 147L, plus 25% = about 184L | 180L Slim, if the space and payload allow it |
| Extended trip, couple in a caravan | 7L × 2 × 14 = 196L, plus 25% = about 245L | 240L Wide, after measuring the storage bay |
| Month-plus remote touring | Plan your refill points, water use and available storage | Multiple bladders or a Wide bladder with a fixed tank |
Daily litres × people × days × 1.25. Then choose a size that fits the vehicle and its loaded weight.
Slim or Wide: which shape fits your camping setup?
Niche Outdoors makes 2 shapes. Choose from the dimensions of the space where the bladder will sit. Measure the full length, width and height before ordering, and leave room for the bladder to expand without pressing tightly against nearby surfaces.
Slim range: designed for a water bladder 4WD setup, including footwells, under-seat cavities and narrow spaces beside drawer systems. The 60L and 100L are common choices for 4WDs and dual cabs.
Wide range: designed for broader spaces such as caravan storage bays, camper-trailer compartments and boat hatches. A Wide water bladder can add temporary capacity to a caravan or camper setup.
Some travellers use both: a Slim bladder in the 4WD and a Wide bladder in the caravan storage bay.
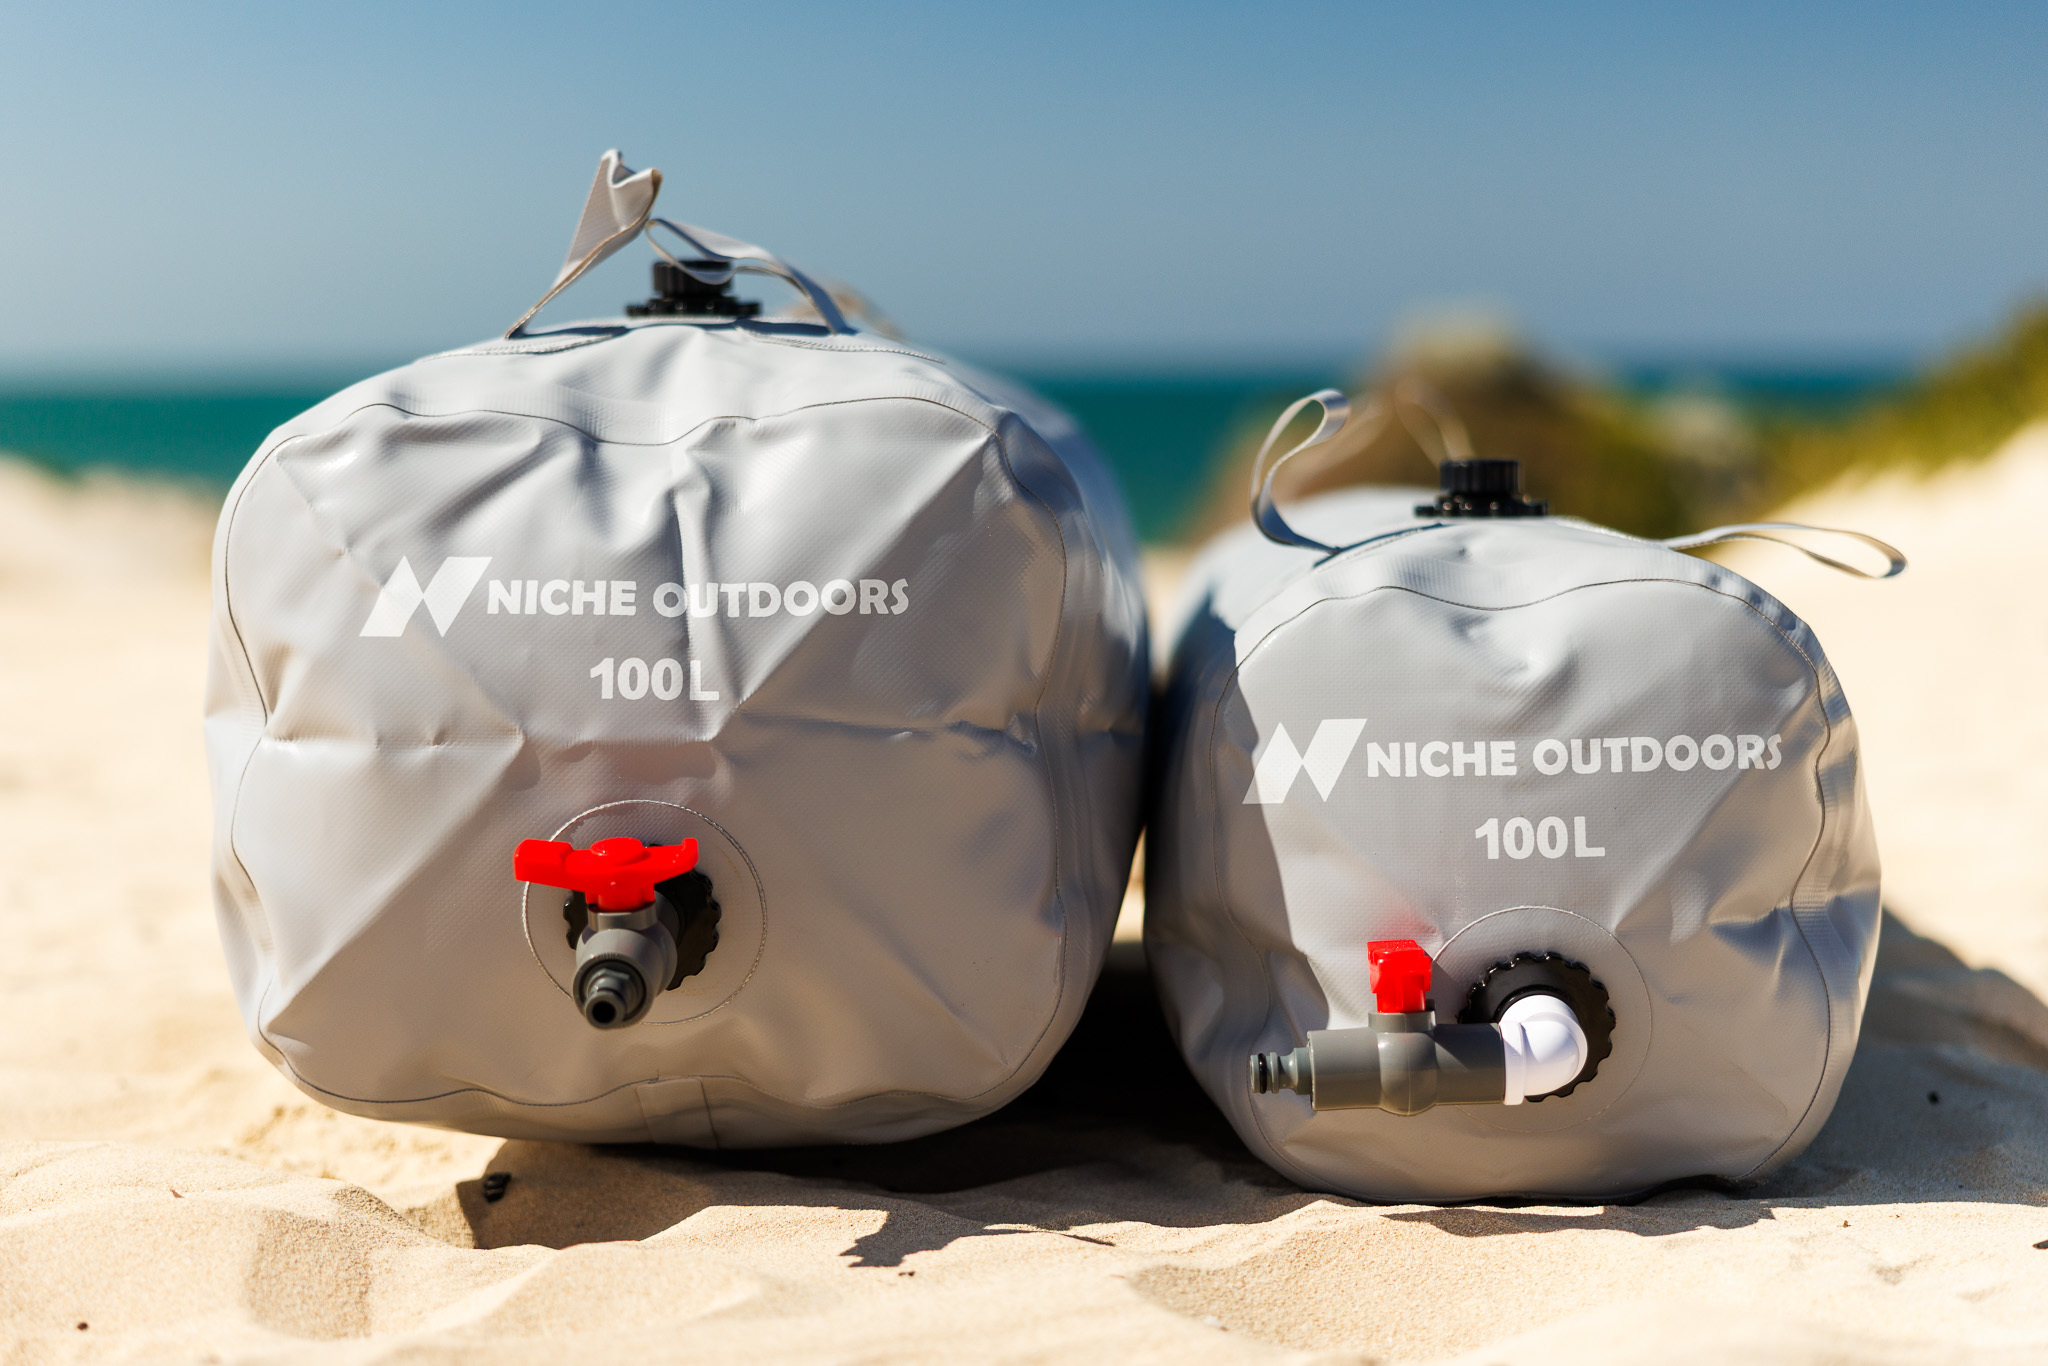
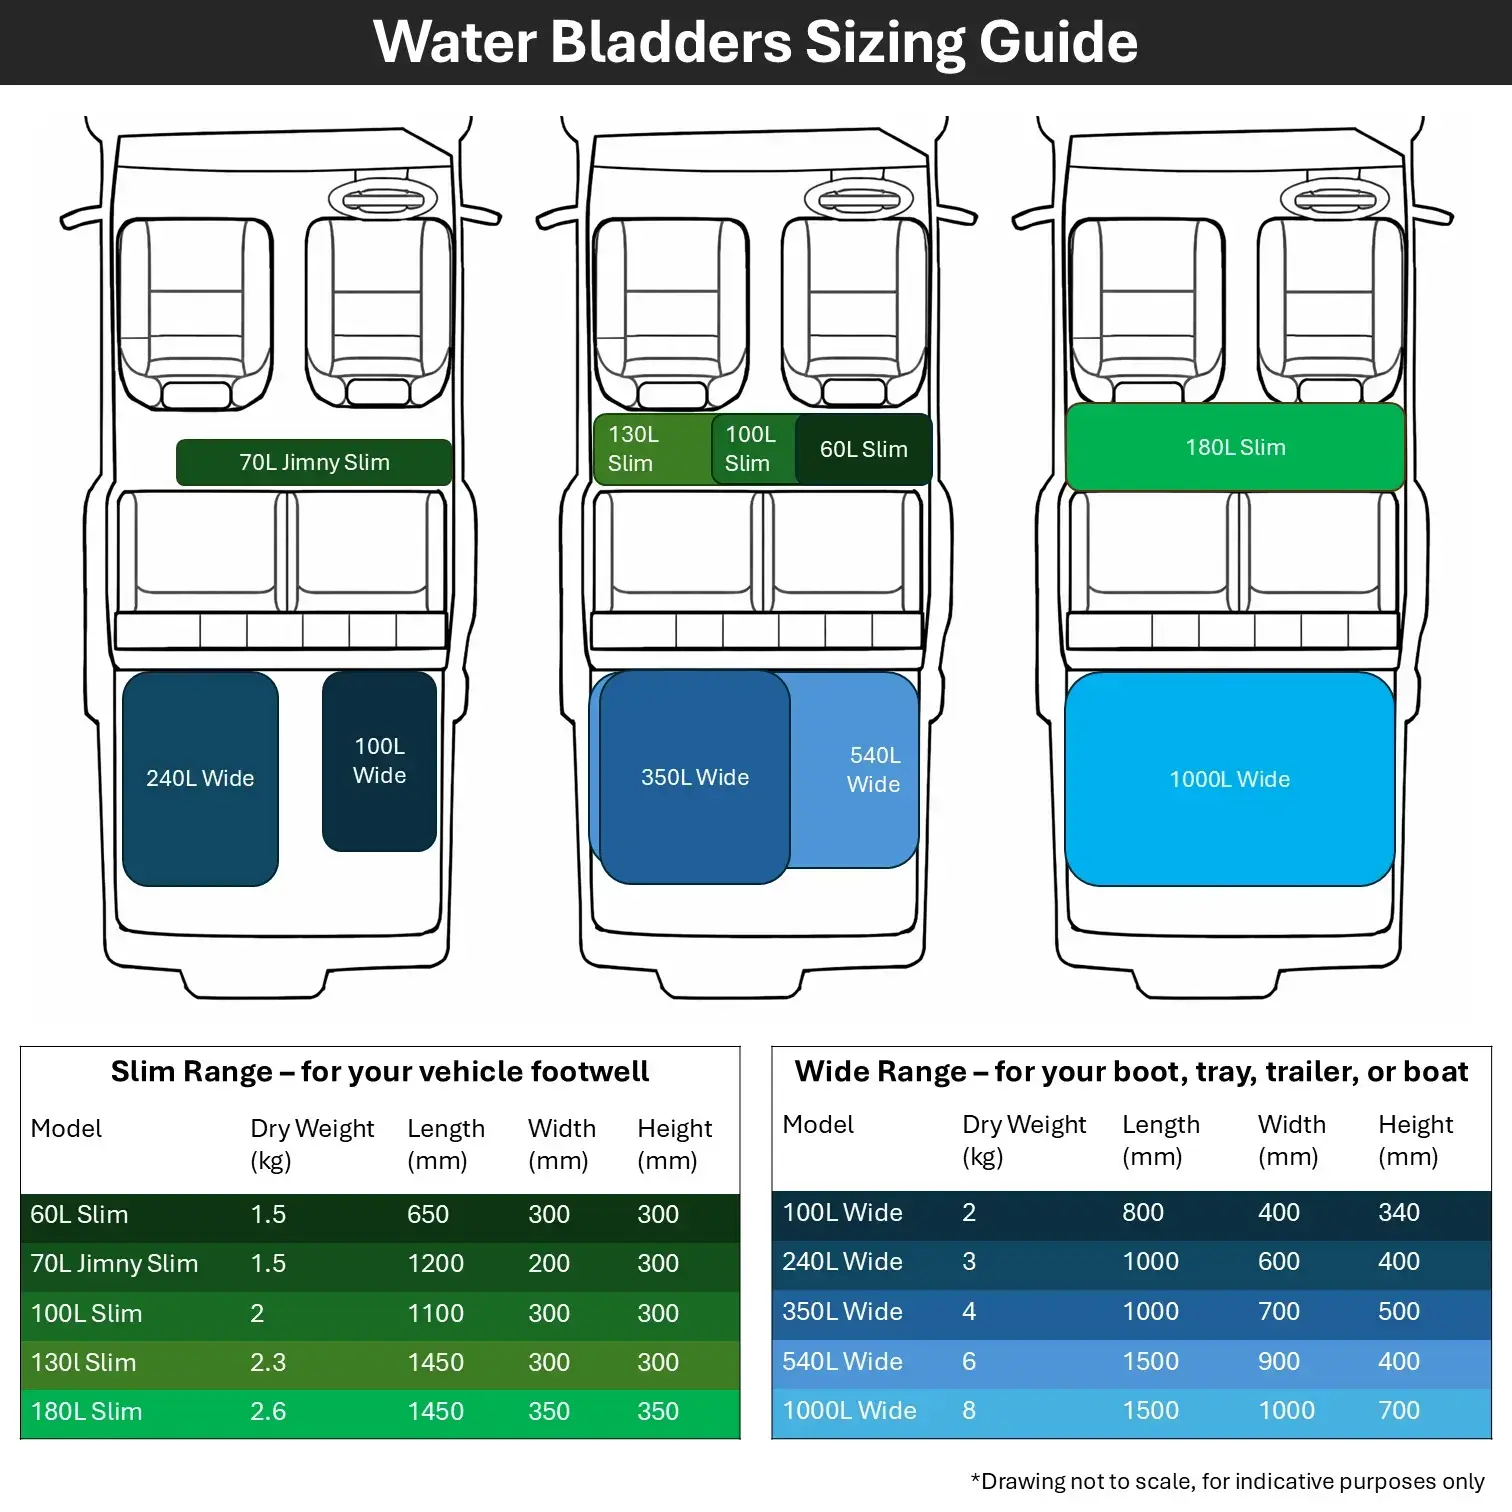

The Niche Outdoors range
Every bladder is made from 1mm food-grade PVC with reinforced seams. Each one ships with a carry bag, PVC cap, ball valve, elbow fitting, hose connector and PTFE thread tape. You have the fittings needed to assemble and connect the bladder.
| Model | Dimensions (cm) | Typical camping use | Price |
|---|---|---|---|
| 60L Slim | 65 × 30 × 30 | Solo trips, couples and extra 4WD capacity | $119.99 |
| 100L Slim | 110 × 30 × 30 | Longer 4WD and camper trips | $139.99 |
| 130L Slim | 145 × 30 × 30 | Longer 4WD trips with suitable storage space | $149.99 |
| 180L Slim | 145 × 35 × 35 | Higher-capacity 4WD touring | $169.99 |
| 240L Wide | See site | Caravans, camper trailers and longer trips | $199.99 |
| 350L Wide | See site | Higher-capacity storage where space and payload allow | $229.99 |
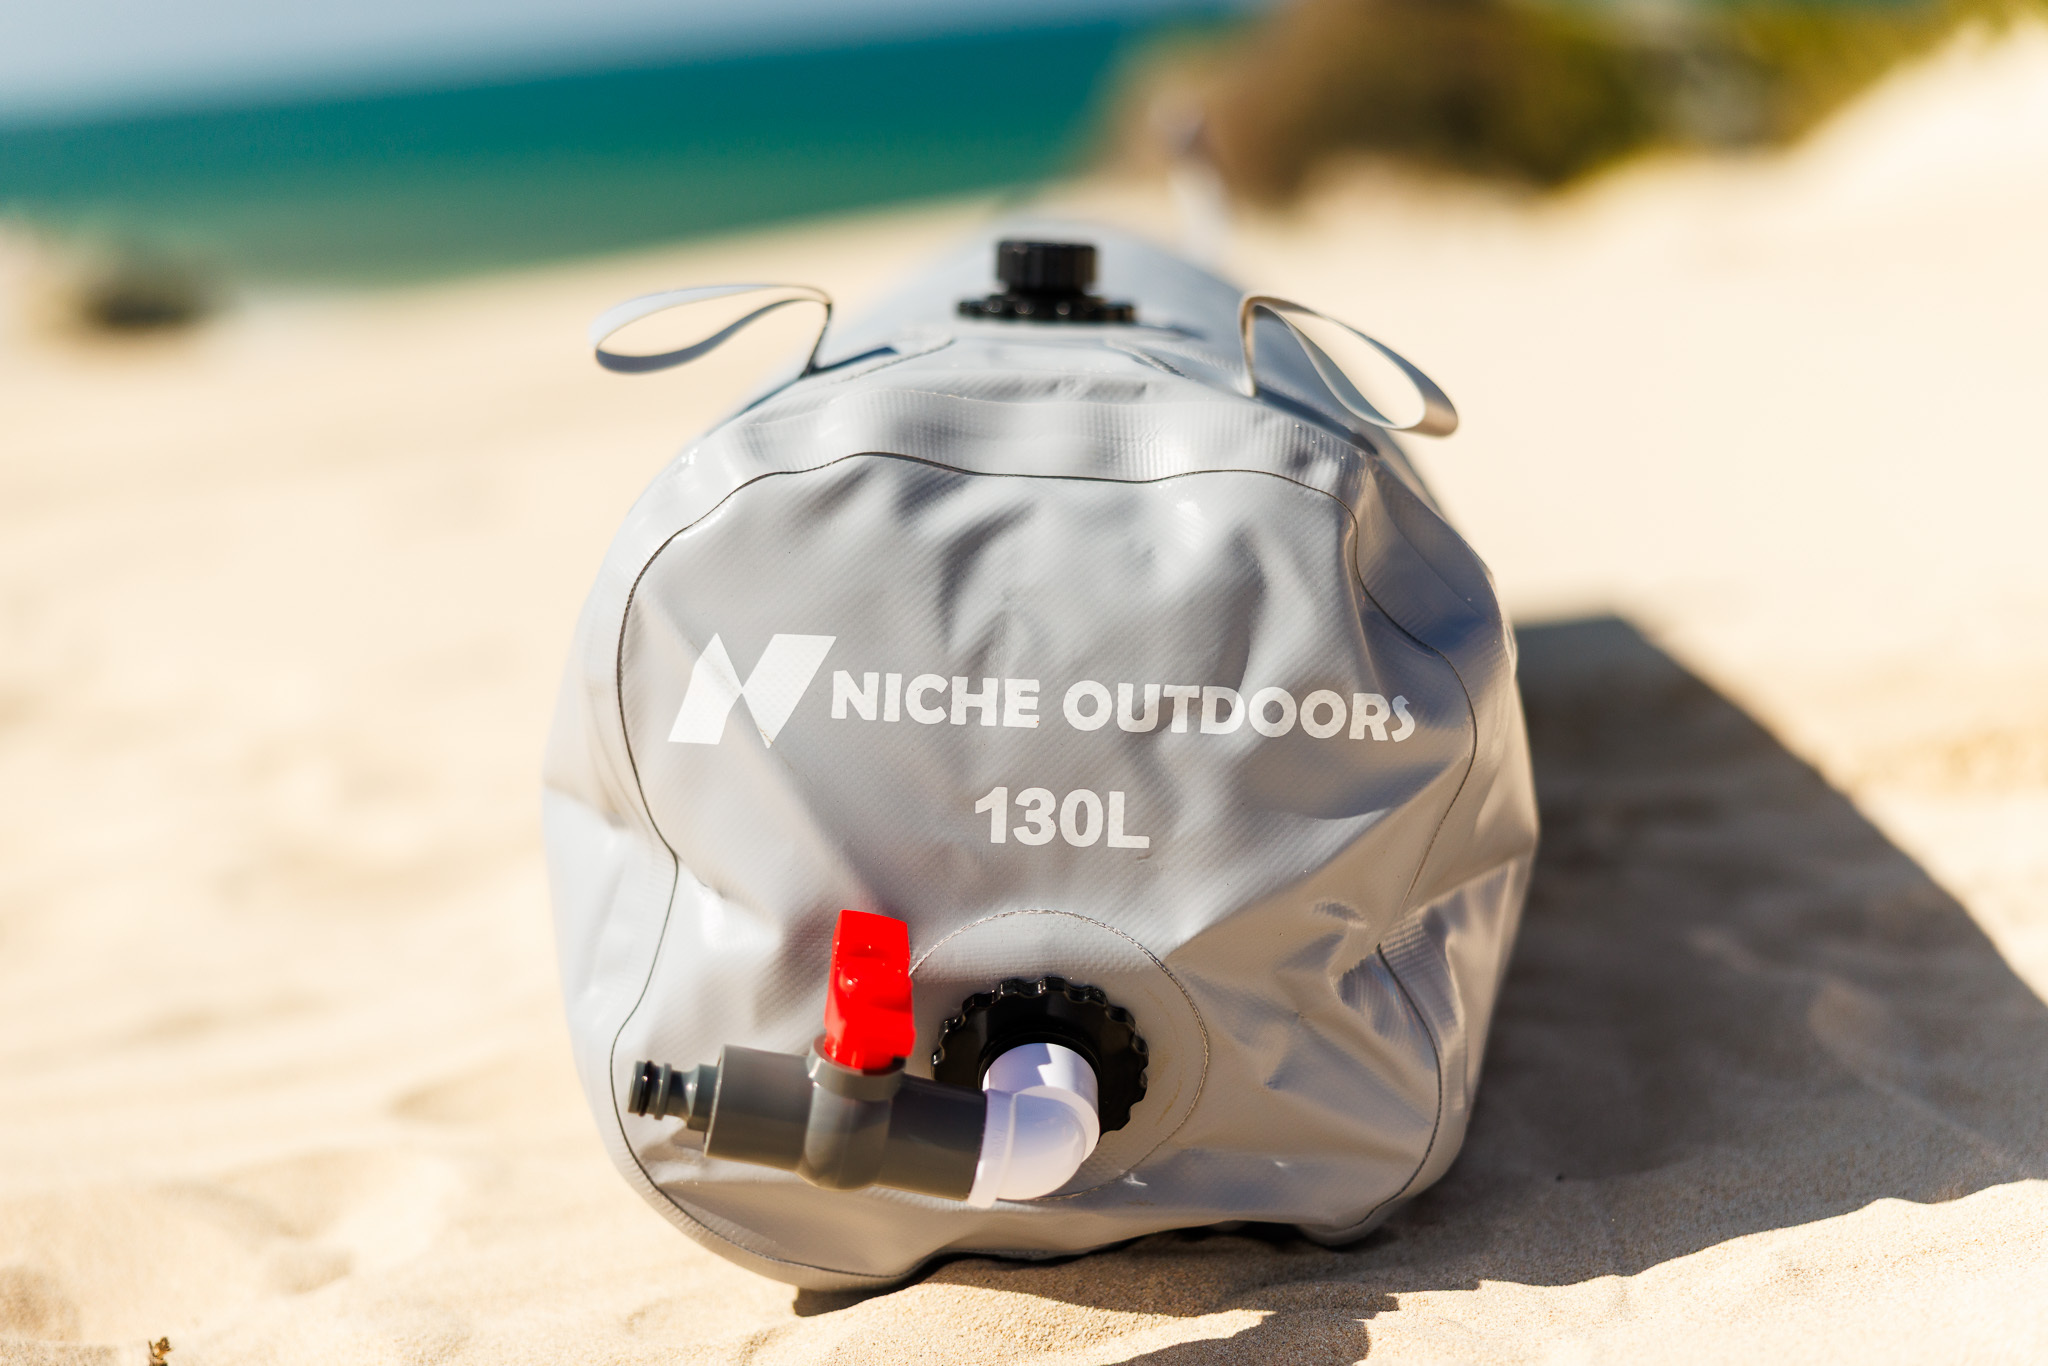
“We didn't list these until we'd run them ourselves: 100L and 60L in the back, all the way up the coast and back again. If we wouldn't trust it in our own rig, we don't sell it.”
Shaun & James, co-founders, Niche OutdoorsHow to set up a water bladder at camp
Niche Outdoors has tested the initial setup at under 15 minutes. Position the bladder, fit the components, fill it and check the connections before you travel.
Before the first fill
Niche Outdoors selected the materials and manufacturer to keep factory smell and plastic taste to a minimum. Most new bladders have little, if any, noticeable taste or smell. If you want to rinse it before first use, use warm water and a splash of white vinegar, empty it and allow it to dry.
Position and fill the bladder
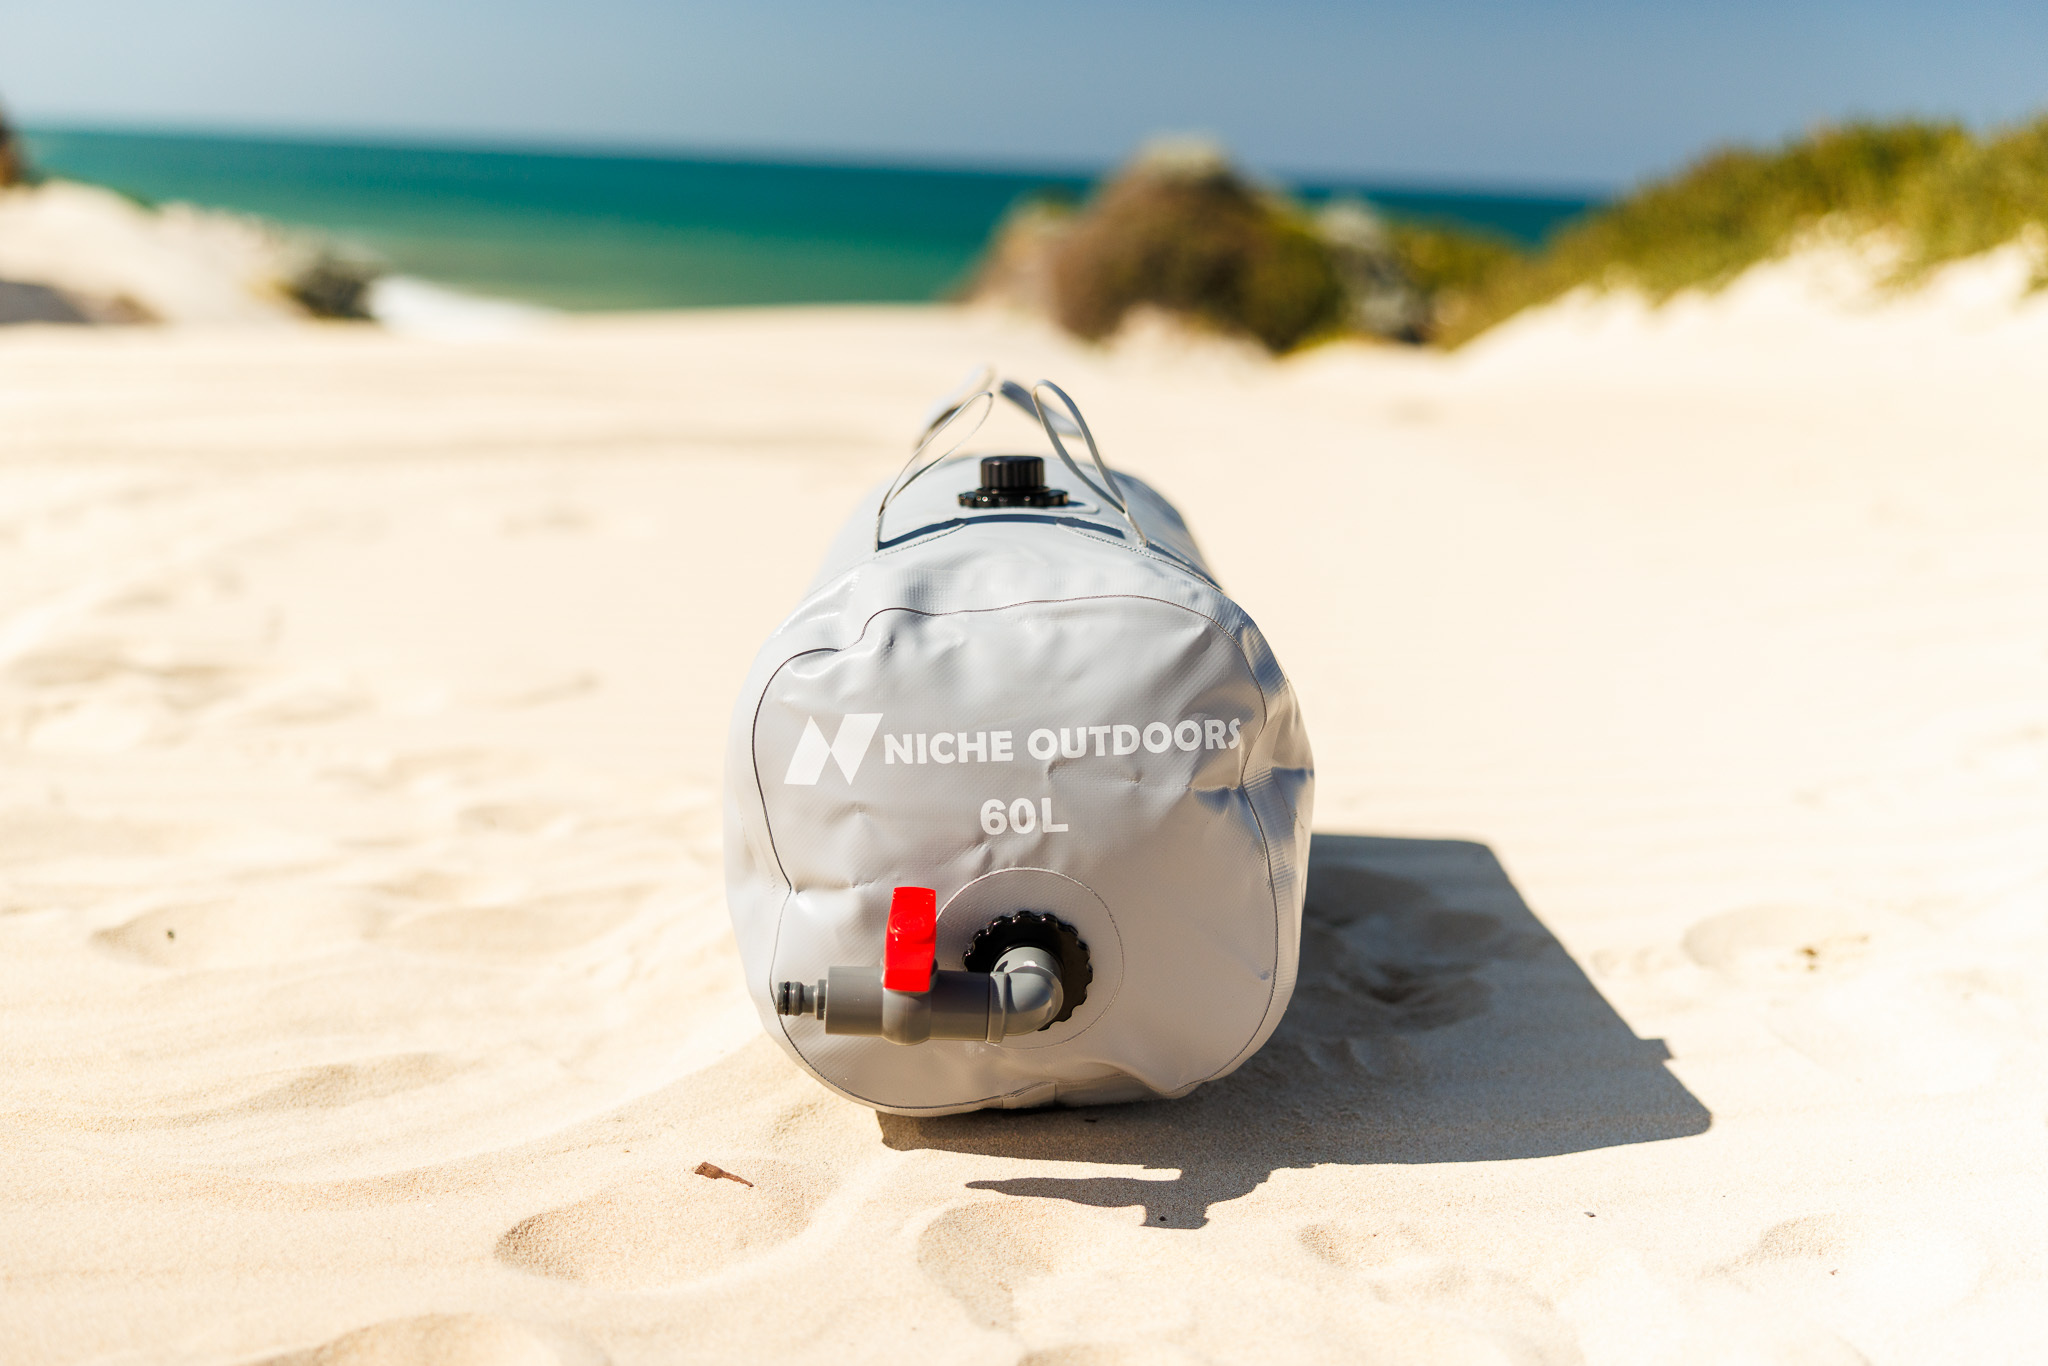
Place the bladder completely flat and remove as much air as possible. Check for exposed metal, screws and sharp edges. Connect the fill hose to the outlet at the bottom of the bladder, then open the intake cap slightly so air can escape as it fills. Watch it throughout the fill and stop before the bladder becomes tight.
For Slim bladders, measure footwells, under-seat cavities and drawer-system spaces. For Wide bladders, measure the caravan bay, camper-trailer compartment or cargo area. The loops help secure the bladder in place. Tie them downwards where possible for the strongest hold on the load. Do not use the loops to lift or suspend a filled bladder.
Running water at camp
- Gravity feed: position and fill the bladder on a stable raised surface, then run a hose down to a tap or bucket. Water is heavy: 100L is about 100kg. Check the surface, vehicle load limits, stability and road conditions before putting a filled bladder up high.
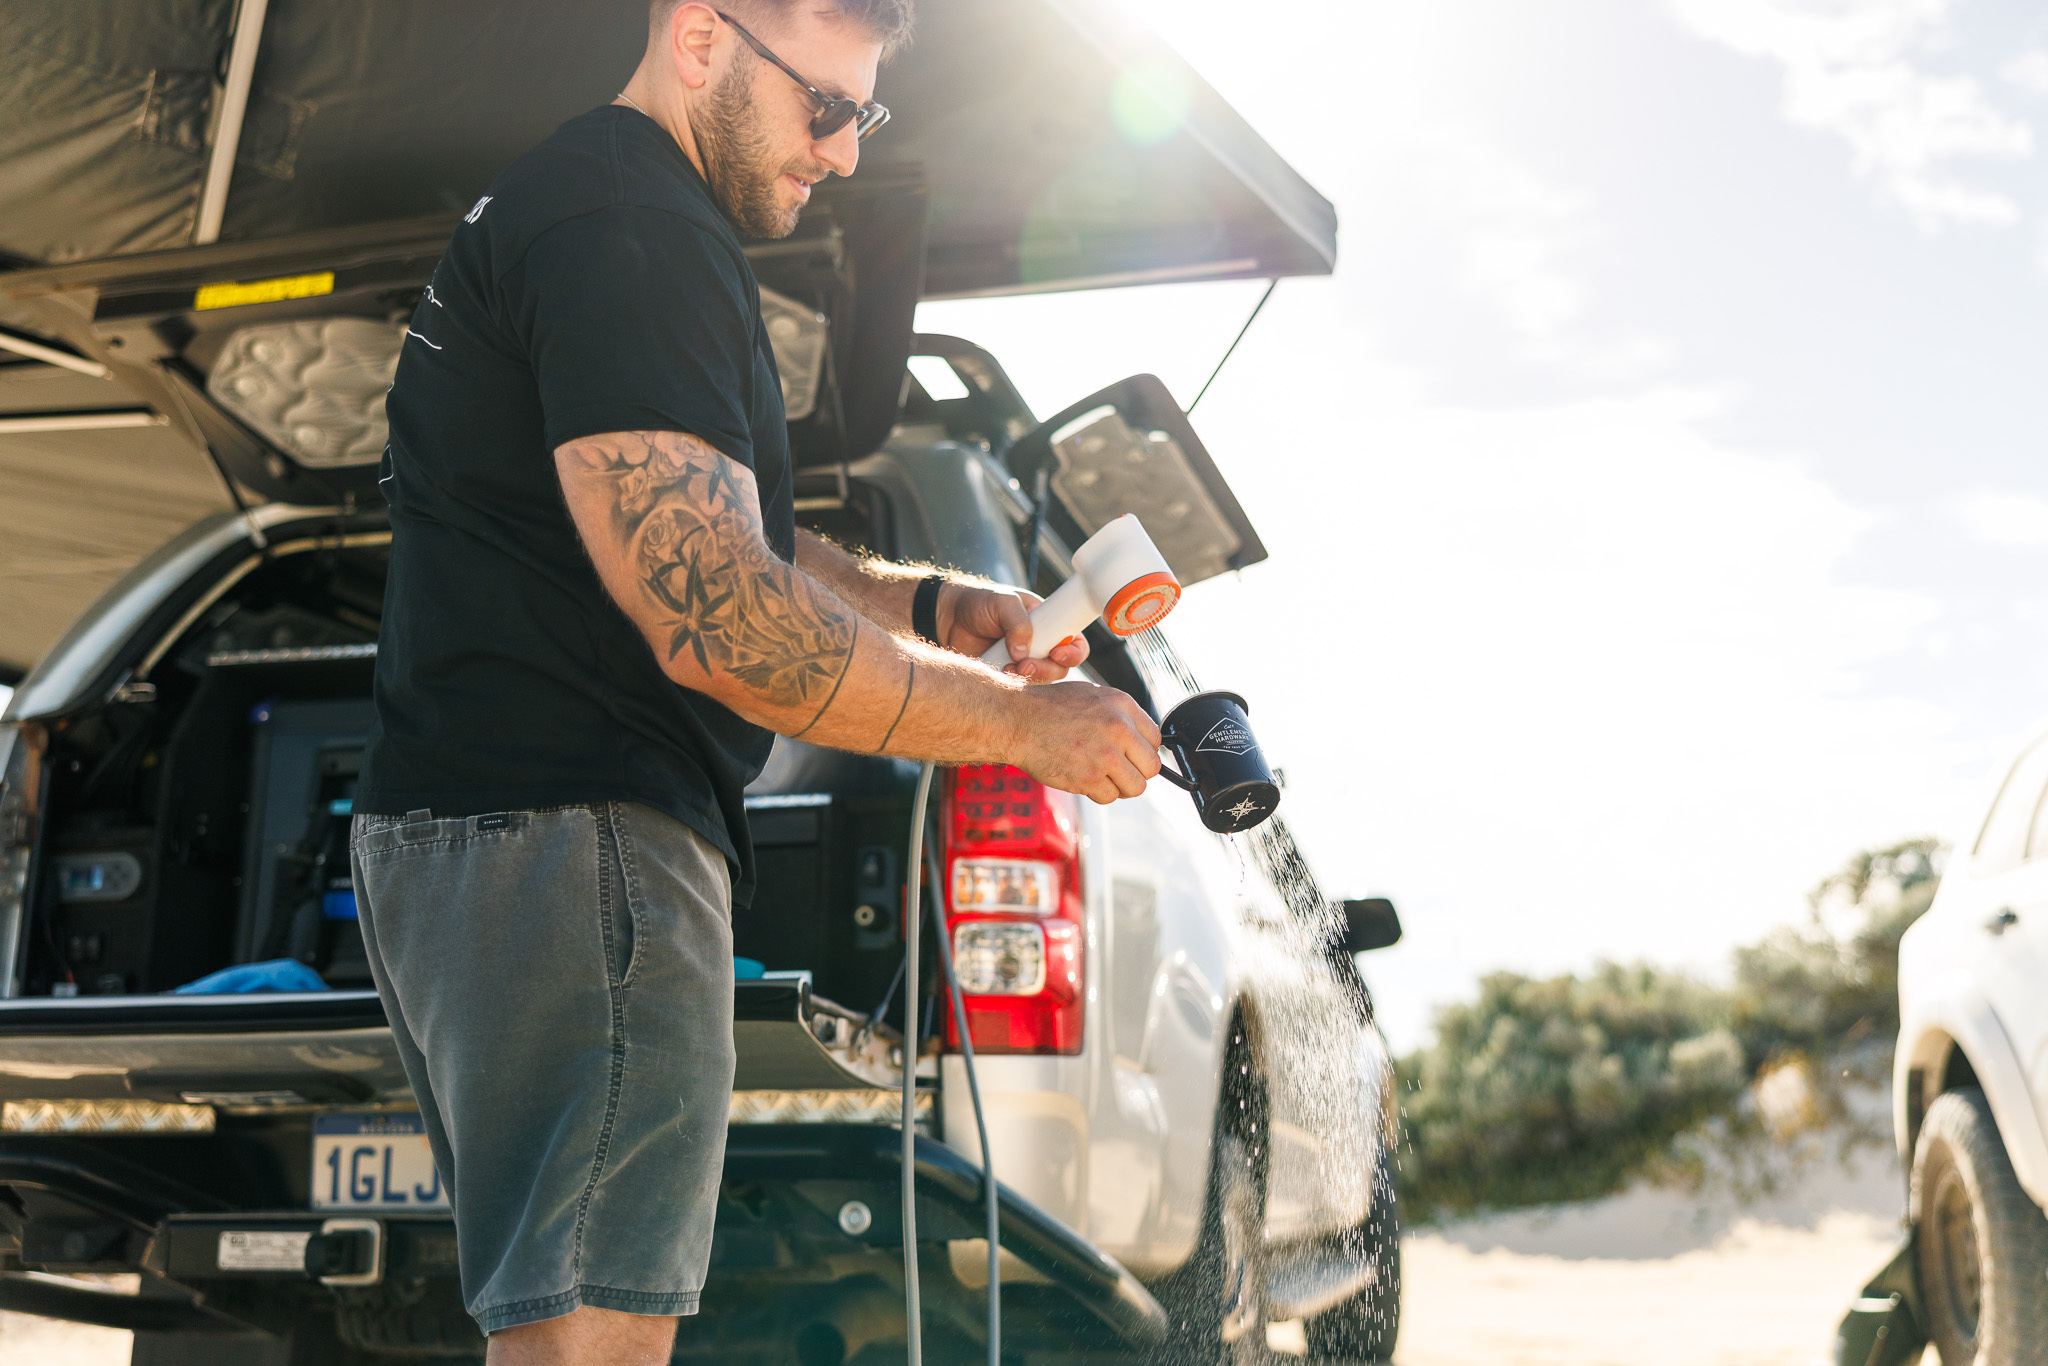
- 12V pump: connect a suitable pump between the bladder and your camp tap or shower fitting. Check the pump specifications and connections before purchase.
- Inline filter: add the Niche Outdoors inline water filter upstream or downstream of the bladder, tap or pump. Its 3 stages use polypropylene for sediment, KDF for heavy metals, and activated carbon for chlorine, taste and odour. It is a general-purpose filter, not a treatment solution for every source.
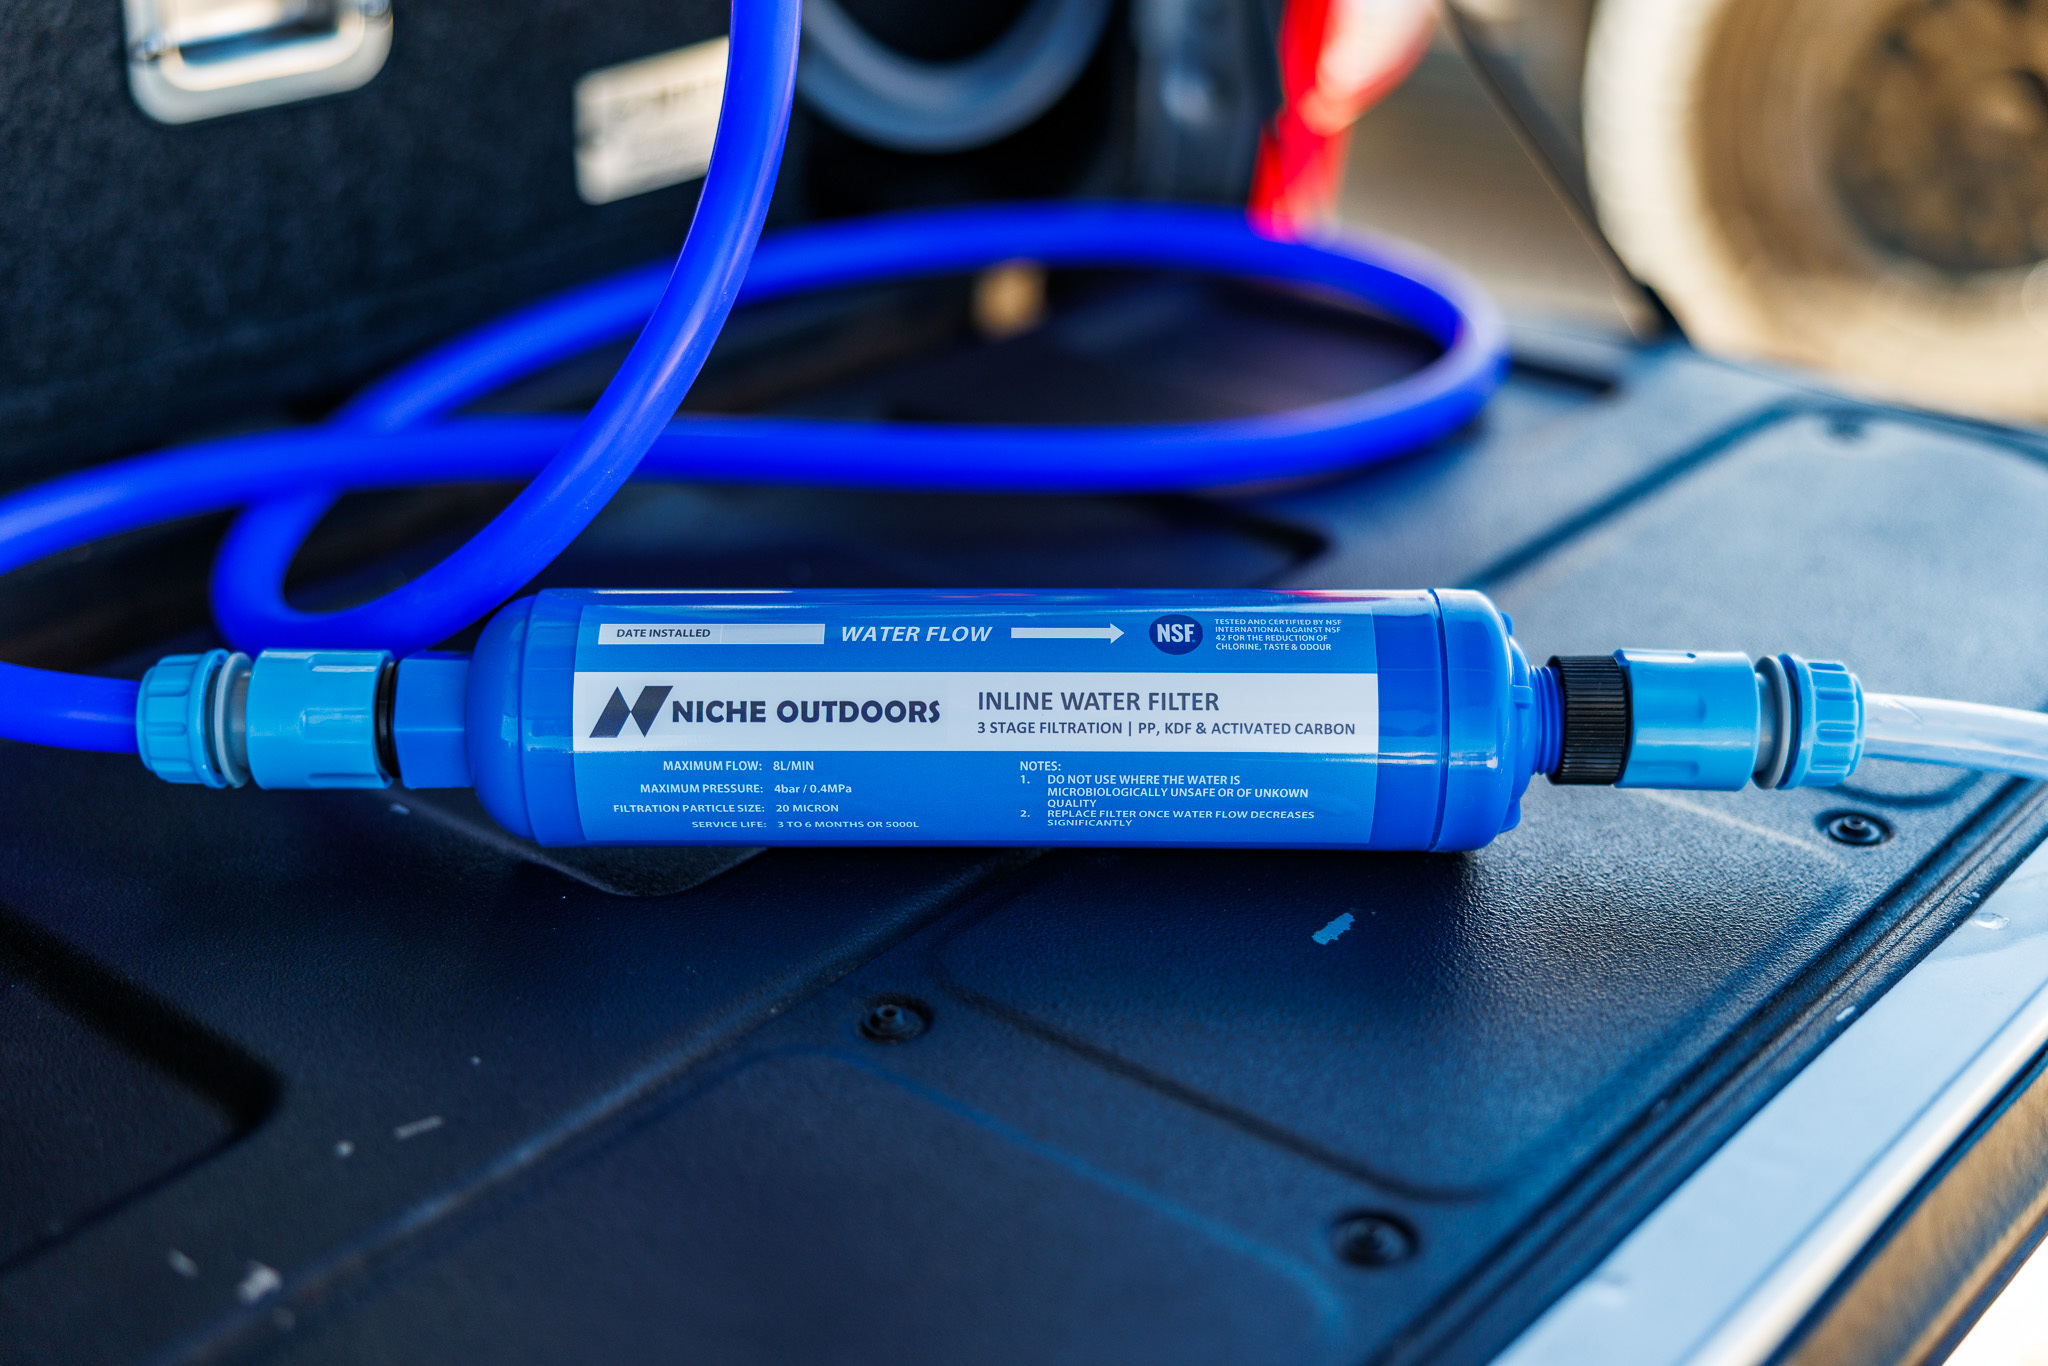
Water quality can vary between bore water, tanks and other refill points. Understand what the filter can and cannot remove before relying on it. A general inline filter should not be relied on to make every source safe. If you are unsure about the water quality, boil it before drinking or avoid using it as drinking water. Confirm this approach with Niche Outdoors before publication.
Caring for your bladder between trips
After a trip, rinse the bladder with clean water, empty it completely and allow it to dry before storage. Storing it damp and closed can lead to odour or mould.
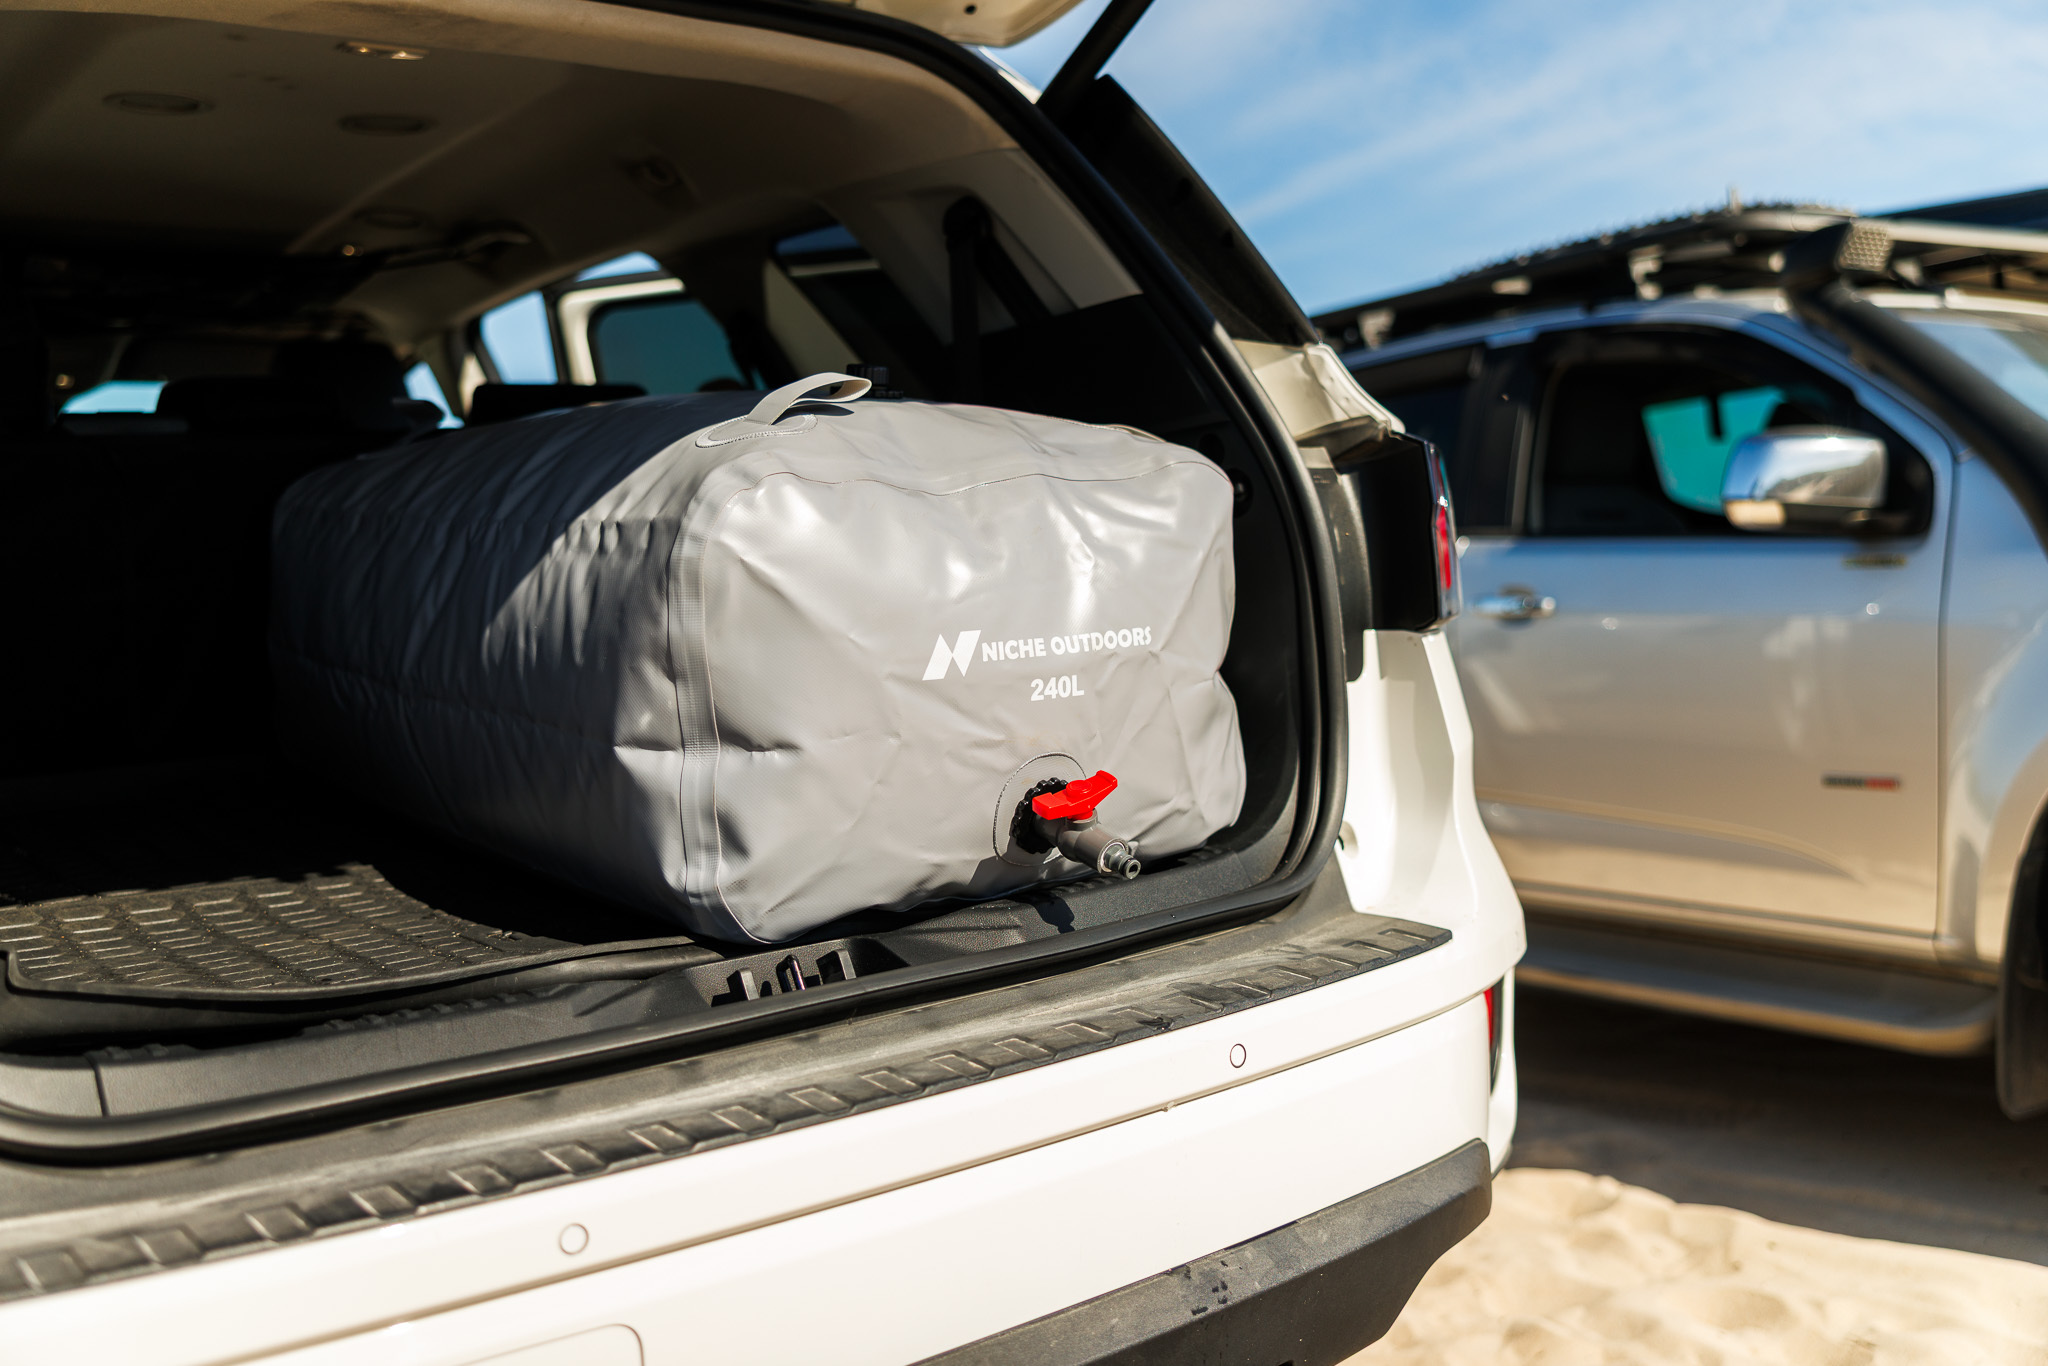
Keep the bladder away from sharp edges and rough surfaces. Use the carry bag to store the empty bladder and its fittings between trips. Store it in a cool, dry place away from direct sunlight, fuel and other petrochemicals.
Frequently asked questions
Can I use a water bladder for a camping shower?
Yes. Connect a suitable 12V pump to the bladder outlet and run the pump outlet to a shower fitting. The number of showers depends on the flow rate, shower length and the water needed for cooking and other uses.
How do I keep the water cold?
A water bladder is not insulated, so water temperature follows the surrounding conditions. A shaded footwell or storage bay will keep it cooler than an exposed tray. Use a separate cooler or insulated container for chilled drinking water.
Is water stored in the bladder safe to drink?
Niche Outdoors bladders are made from food-grade material. They are not yet certified for potable-water storage, so Niche Outdoors does not claim that water stored in the bladder is safe to drink. The inline filter uses polypropylene for sediment, KDF for heavy metals, and activated carbon for chlorine, taste and odour. It may suit many common uses, but it does not make every water source safe. If you are unsure about the water quality, boil it before drinking or avoid using it as drinking water. Confirm this approach with Niche Outdoors before publication.
Can I fill the bladder in the vehicle?
Yes. Position it flat, remove as much air as possible, fill through the lower outlet and leave the upper intake slightly open to release trapped air. Watch it as it fills and stop before it becomes tight.
Can I use a bladder with a fixed tank?
Yes. Many travellers use a bladder to refill a fixed tank on longer trips. Once the water has been transferred, empty the bladder, roll it up and store it in the carry bag. The fixed tank can remain the main supply.
Can the bladder be repaired if it gets a puncture?
Stop using the bladder if it is punctured or damaged. Empty it and contact Niche Outdoors for product-specific advice before attempting a repair.
Find the right bladder for your camping setup
Browse the Slim and Wide range. If you need help confirming a size, the founders can help you check the available space, trip length and number of people.
Shop Water BladdersNeed sizing help? Get in touch.